
 My friend and I were able to get together and get started on the quilting portion of the quilt I started last fall. I'm so excited to be nearly done! The left pic shows where I am now on it: All quilted and ready for binding.
Because the feed dogs on my sewing machine don't drop, I did all straight quilting. First, I used the foot that comes standard on the sewing machine (I'm not a sewer--yet--and don't know all the terminology.) My friend Heather recommended a walking foot to reduce puckering, and, surprise, surprise, I have one:

I did still have a bit of puckering, though, but it was just my inexperience showing and I plan to get better. Here is some of my quilting:


You may be thinking, "Wow, that's some serious unstraight sewing!" and you'd be right. Something to work on, especially since I'd like to try my hand at sewing clothing. Also, in the bottom right corner of the above pic, you can see the thread is thick in one spot. That's where I started and stopped. Heather tells me that that is the easy way, but there is a way to start and stop so that it's not as noticeable, and I plan to learn that.
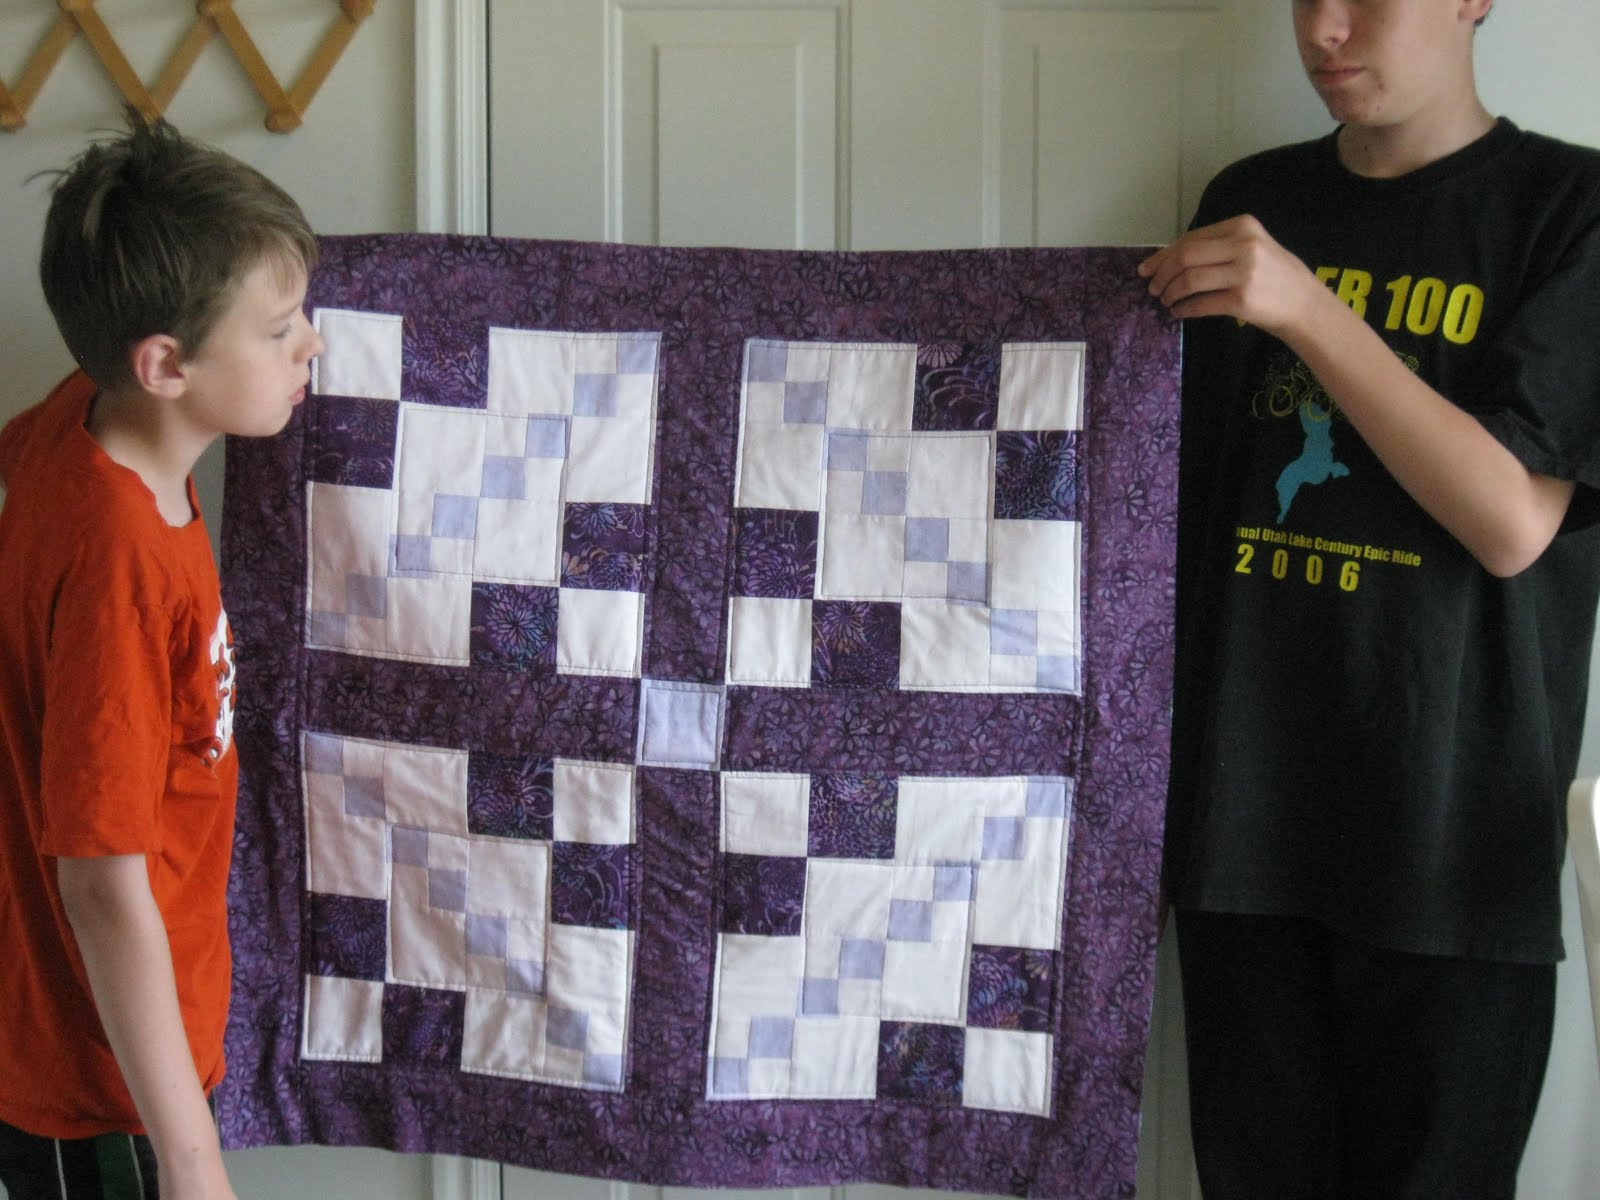
 Here's the back with all of it's obvious puckers. But that's OK. I like this fabric best of all I used, and I'll be using it for the binding so I can see it on the front.
I did have a moment of panic when I thought that I had done the final quilting in the wrong spot--around the seam of the border. I looked at the two quilts I have hanging in my studio, to see what they had done. They hadn't done such a seam! Panic! Instead of seeing that one was quilted "in the ditch" and the other had lots of curvy quilting all over the border, I immediately assumed that I had done it wrong. The binding on both is immaculately straight and naturally my mind leaped to the conclusion that they had done their seams on the edge of the quilt and lined up the bindings with that. And of course I had cut the edges off my fabric by then, which made it worse. But I got in touch with Heather, who assured me that I had in fact done it correctly. Whew!
 It hasn't been all quilting though. I started working on my ornament, "What Can I Give Him?" by Forget-Me-Nots-In-Stitches. Lauren Sauer is the designer. I have a couple of her pieces in progress and I really love her work. Anyway, I started by doing the outlines of each piece in backstitch:
Well, that didn't work out too well! The heart in the upper left is not only in a bad place, it has a mistake, so the stitching wasn't lining up. Although the long rectangle is not so noticeable, it has the same problems. It was very important to follow the backstitch instructions exactly, so it will line up for finishing. There were some stitches over two, some over three, and a few over one. Working in-hand, because I was too lazy to tack it to stretcher bars, because I'd have to untack it and retack it later, made it very wrinkly. This is better:
 Still wrinkly, though. I didn't use steam to press it because I was attaching fusible interfacing:
I don't even want to get into what happens when you cut things out in a hurry. Still, it'll work out, and now the project is attached to stretcher bars and ready for stitching:

Lastly, it's now July and time for a new tatted heart. I'm hoping to get some thread tonight and get started on it. Stay tuned!


1 comment:
I like your quilt. Quilting has got to be one of the hardest fiber arts to do. So precise.
Post a Comment