Monday, February 20, 2017

Clean Sweep Nutcracker

Ta-da!

Clean Sweep Nutcracker by Jemini Designs is found in the 2015 JCS Ornament Issue.  It was quite fun to do, with a little challenge in the metallics, satin stitch, and fluffy thread.

Here I have finished the backstitch and long stitch:


And then the satin stitch.  I felt I could have made it a little more smooth.  I decided at this point to add the signature as well, although it wasn't quite finished, because the final thread I used in this project was Rainbow Gallery's Wisper in red and there's nothing like dragging tiny bits of red fluff all over a nearly-finished project:


And, finished!  JazzBoy and I are both pleased with the way it turned out.  We like the clarity and simplicity of the design, as well as the humor:


It will probably be a little while before I do the final ornament Finishing.  I may, possibly, have mentioned that I don't like Finishing.  So this, and the other ornaments, will be worked in among other stitching/textile projects.  I'm currently working on stitching the remaining ornaments my family selected--I'm starting the next one this afternoon--as well as learning to sew an A-line skirt using lessons from Craftsy.  I'm also planning to get started on a few projects that I've had in mind for quite a while:

1.  A Mirabilia project for my sister that I started quite some time ago--a decade?  Longer?  It's ridiculous.  She paid quite a bit for the supplies, too.  I took a floor stand upstairs a few minutes ago and put it in front of the TV.  That's what I'll be doing this baseball season.

2.  Learning to tat ice drops.

3.  Tatting a small black doily.

4.  Making a couple of cuffs.  One will be denim with some tatting that I've already done.  I also have some orange silk shantung that will make an amazing cuff--I'm thinking of using some vintage costume jewelry and some cream ribbon and beads.  I've wanted cuffs for years.

So, lots to do!

Saturday, February 11, 2017

The Funniest Snowman in the Issue

 
It's been a little longer than I anticipated between blog posts.  First I had that cold that decided to settle in.  I did start stitching again once I felt better and I also did the finishing work on an ornament and I wanted to get that all done so I could post it.

First, updates on my "mystery" ornament.  It's probably pretty obvious by now what it will be.


I'm actually almost done.  I'm working on backstitch, there's a bit of long stitch and satin stitch, and a few beads.  Finally, a bit more cross-stitch, which I've decided to do last.  It'll be pretty obvious why.

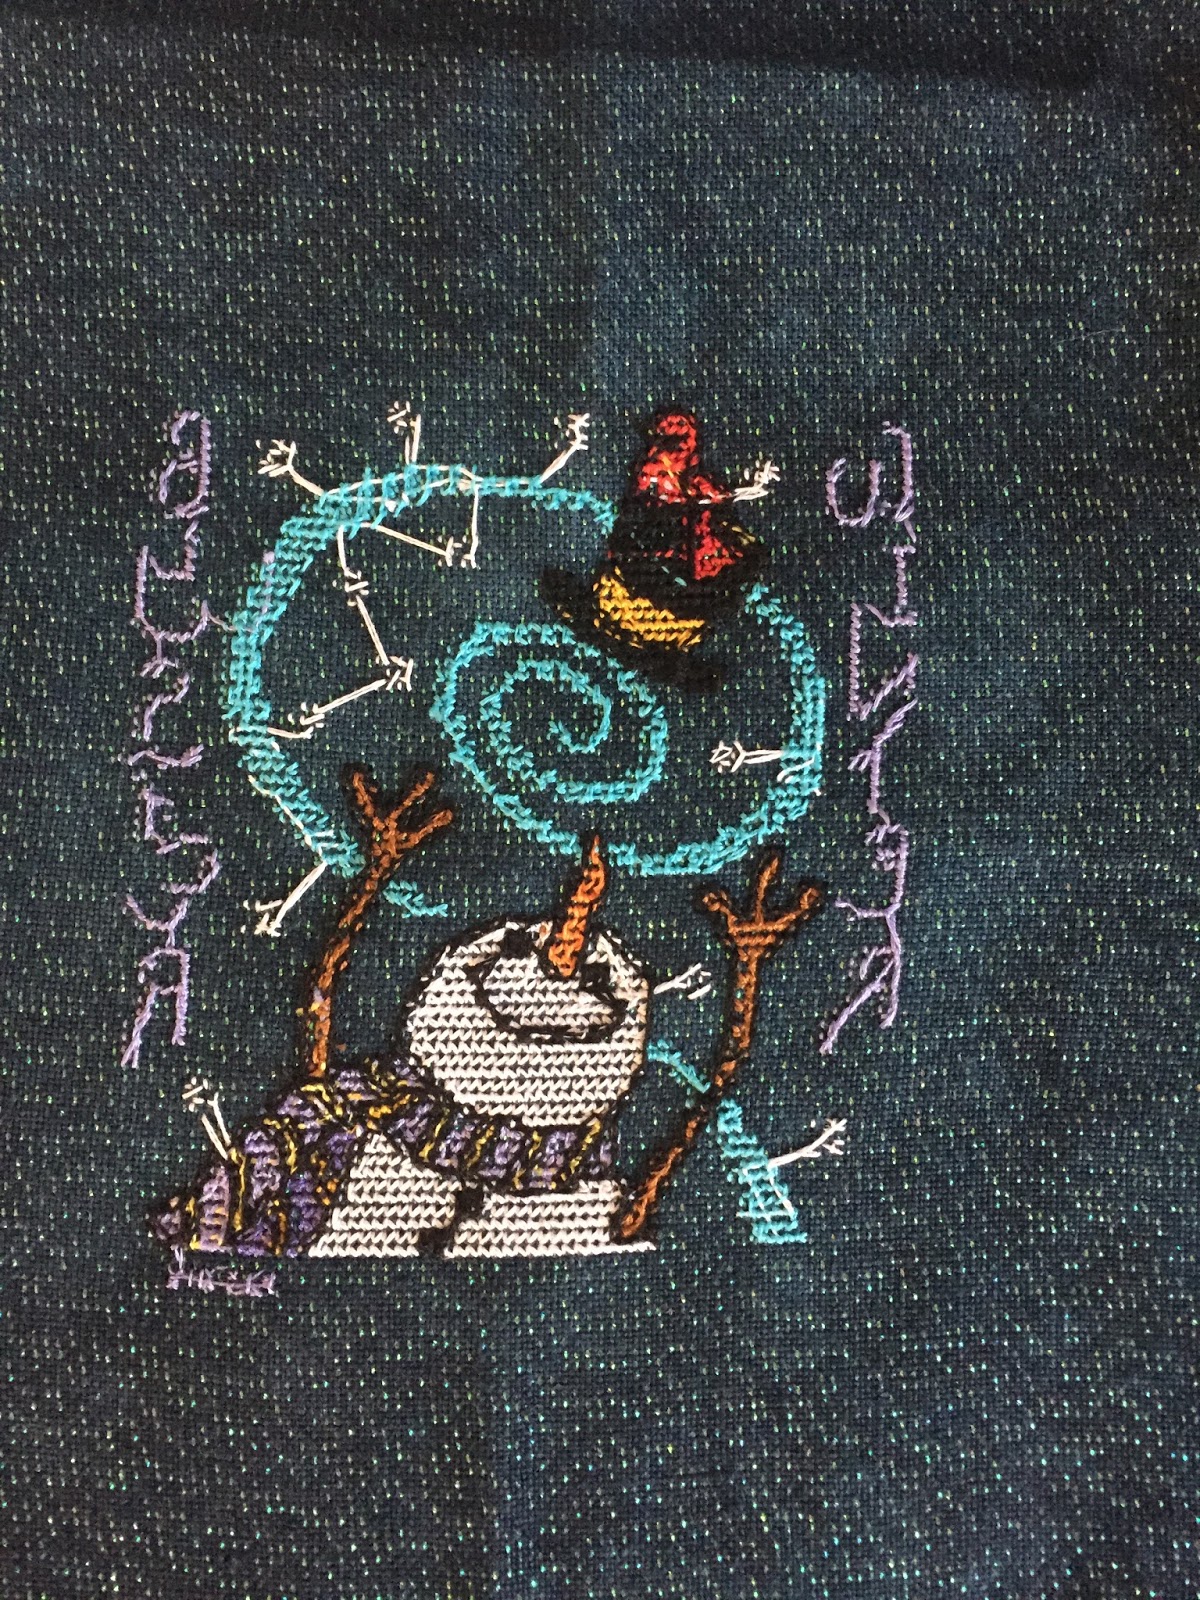
Jazzboy always picks a snowman for his ornament (the above is his, too), but it turns out there's a little more to the pattern.  He told me he always picks the funniest snowman in the issue.  For 2016, he chose "Winter Bluster" by Glendon Place from the Just Cross Stitch Ornament Issue.


It's not clear here, but it's a beautiful sparkly fabric:  28-ct Mystic Cashel linen by Picture This Plus.  I normally don't use Q-snaps anymore--I prefer stretcher bars now--but I didn't have the right size stretcher bars and I didn't want to wait to order some.  It turned out to be a good thing, because when I did order my supplies, I forgot to order the stretcher bars.


This segment actually involved a lot of miscounting and frogging and was far more frustrating than it looks.  Another problem I had was that of working on dark fabric.  My eyes are aging and it was very hard to see the holes.  I had heard a suggestion that I use a light box and I do have one, so I pulled it out.  Unfortunately, it made the threads difficult to distinguish--which threads go over, which go under--and I really need to be able to see those.  So I used the best (overhead) light I could and strong reading glasses and took my time.  Once I got going, though, this project was quite fun and relaxing.


Once again, no idea why it's sideways, no good with a camera, can't figure out how to right it.


Now we're taking off!


Stitching complete...


And the back.  You can see where I carried threads between the little snowflakes.  There is a technique for anchoring a thread into the fabric itself, and I know how to do it, but I don't trust that it won't come undone.  It may be something I address in the future.

The stitching was completed before Christmas, but I didn't start the finishing until last week.  The picture in the top left show the supplies:  completed stitching, backing fabric, acid-free foam core, trim.  Rather than do my usual lacing, I decided to use the flat ornament finishing instructions from the magazine.  This involved sewing with a sewing machine, not my best skill.


Front and back sewn together, except the bottom.


Foam core inserted (I added some batting as well), all sewn up.  I wasn't happy with the lower left corner, so I straightened it out a bit when I added the trim.


All finished and ready to hang!  The trim required tacking down in the front and whipstitch in the back.  I happened to have a snowflake button to attach a hanger.  I just made a ribbon loop.  I may change it in the future. 


Sunday, February 5, 2017

Bandanna to Headband

So, this is the latest on the ornament.  It's about an hour of work and I did it on Wednesday.  I think.  I know I haven't worked on it since Wednesday because I developed a migraine and an obnoxious head cold that night and I haven't worked on anything since.

And I had such great plans for this week!  I want to make sure I don't burn myself out out of guilt, and I want to make consistent progress.  So I get frustrated when there are interruptions to the forward motion.

Still, I did finish another project that I had had in mind for several months.  I decided to make a hairband out of a bandanna.  I like headbands and I like bandannas.  I hardly ever wear either, because they don't stay on my head very well.  Still, they are very useful for road trips; they allow me to go into convenience stores without looking like a total bum, or else having to get up 1 1/2 hours earlier than everyone else in order to do my hair.

I searched for simple and free patterns online, unsuccessfully.  There are lots of very cute patterns that are also free, but they were not what I had in mind.  I am not a good sewist--I really cannot sew a straight line, as is obvious in the below pictures--and I wanted to do something very basic.  So I just decided to buy a couple of bandannas at the dollar store and just go for it.

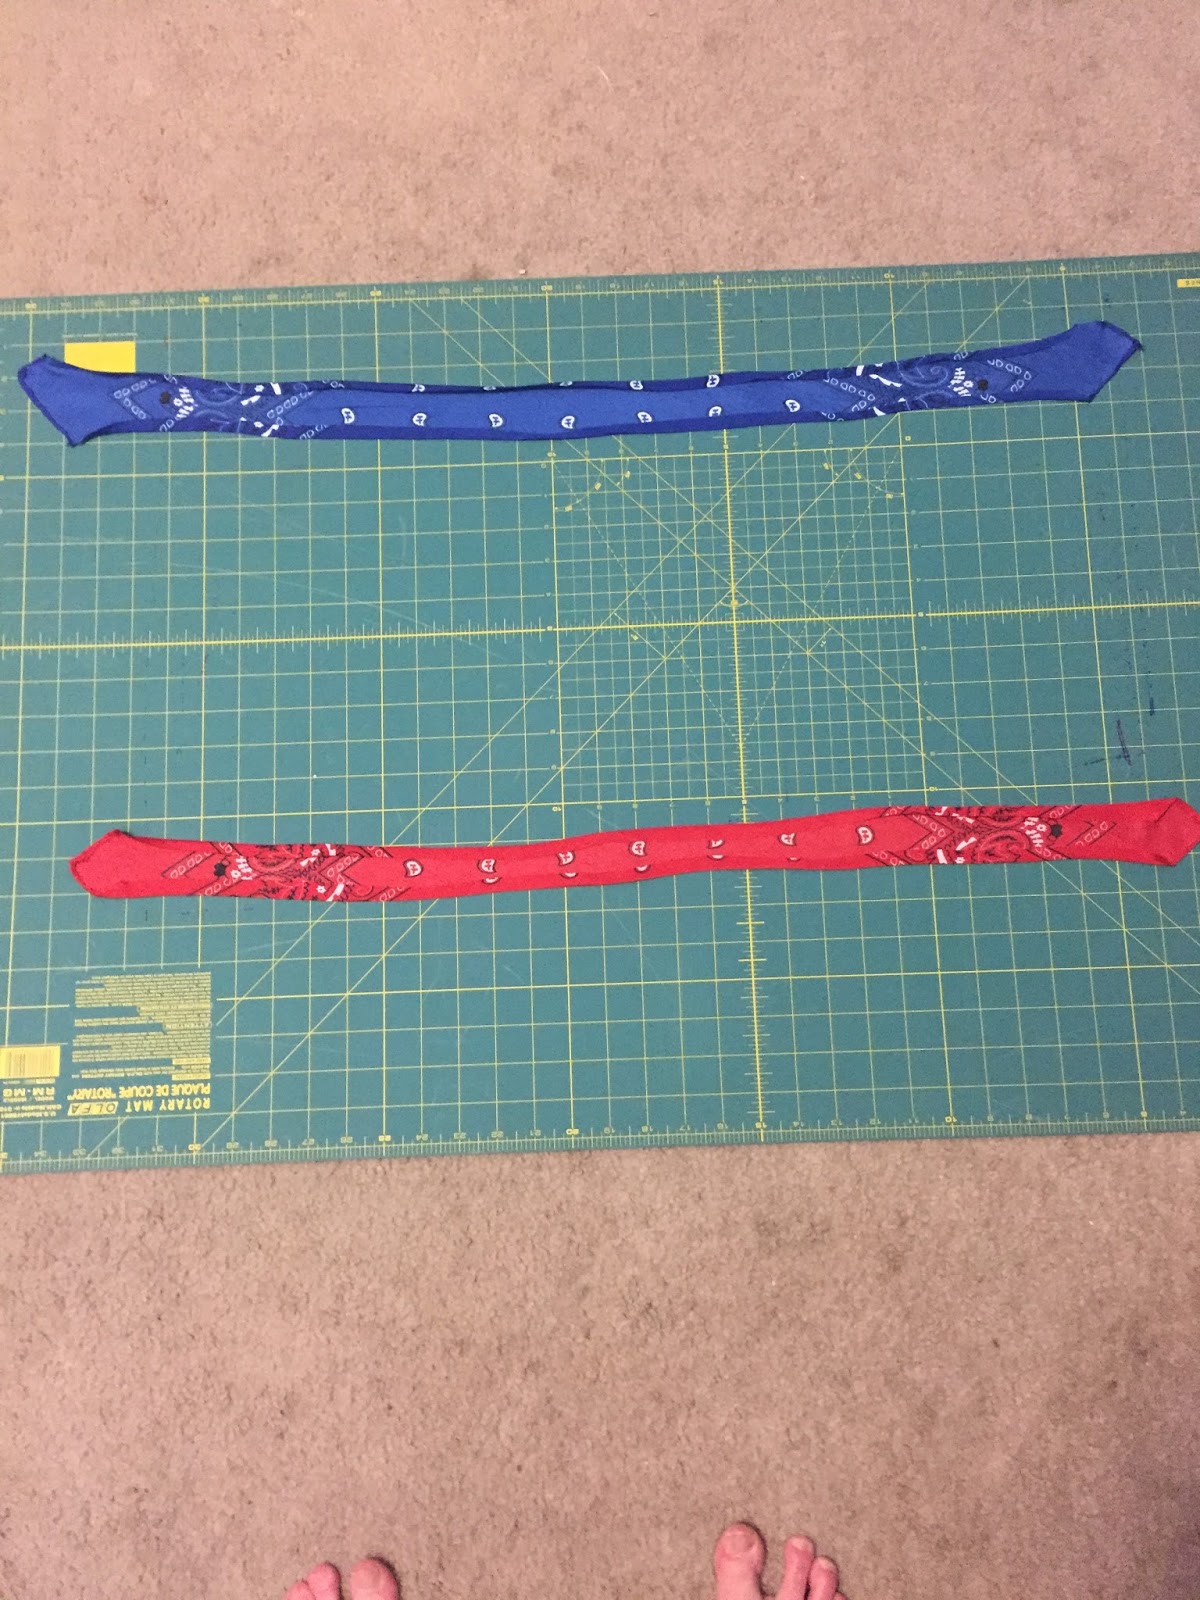
Blue dollar store bandanna

Red dollar store bandanna

Then I got out my rotary cutter and clear quilting ruler and cut a strip out of the center--the hypotenuse, the longest part.  I had decided I wanted the finished headbands to be 2 1/2", with 1/4" hems, so I measured 1 1/2" from the center on either side.


I did have to fold the bandannas in half because the ruler wasn't quite long enough.  You can see that I didn't quite get it symmetrical.  I believe the dollar store bandannas weren't quite square--you get what you pay for, I guess.  That's my story and I'm sticking to it.  For another project, I might have been inclined to re-do it and get it right, but this was sort of an experiment and I didn't care enough.  I don't think anyone will be close enough to inspect these for quality.

Next I pressed down the hem allowances:

Wrong side view

Right side view

And finally I sewed the side hems:

The final products.

Overall, I'm happy with this little experiment.  I had an idea and I followed through with it.  It worked.  These are wearable enough.  And I have two more travel headbands.


Tuesday, January 31, 2017

Metallics: What a Pain

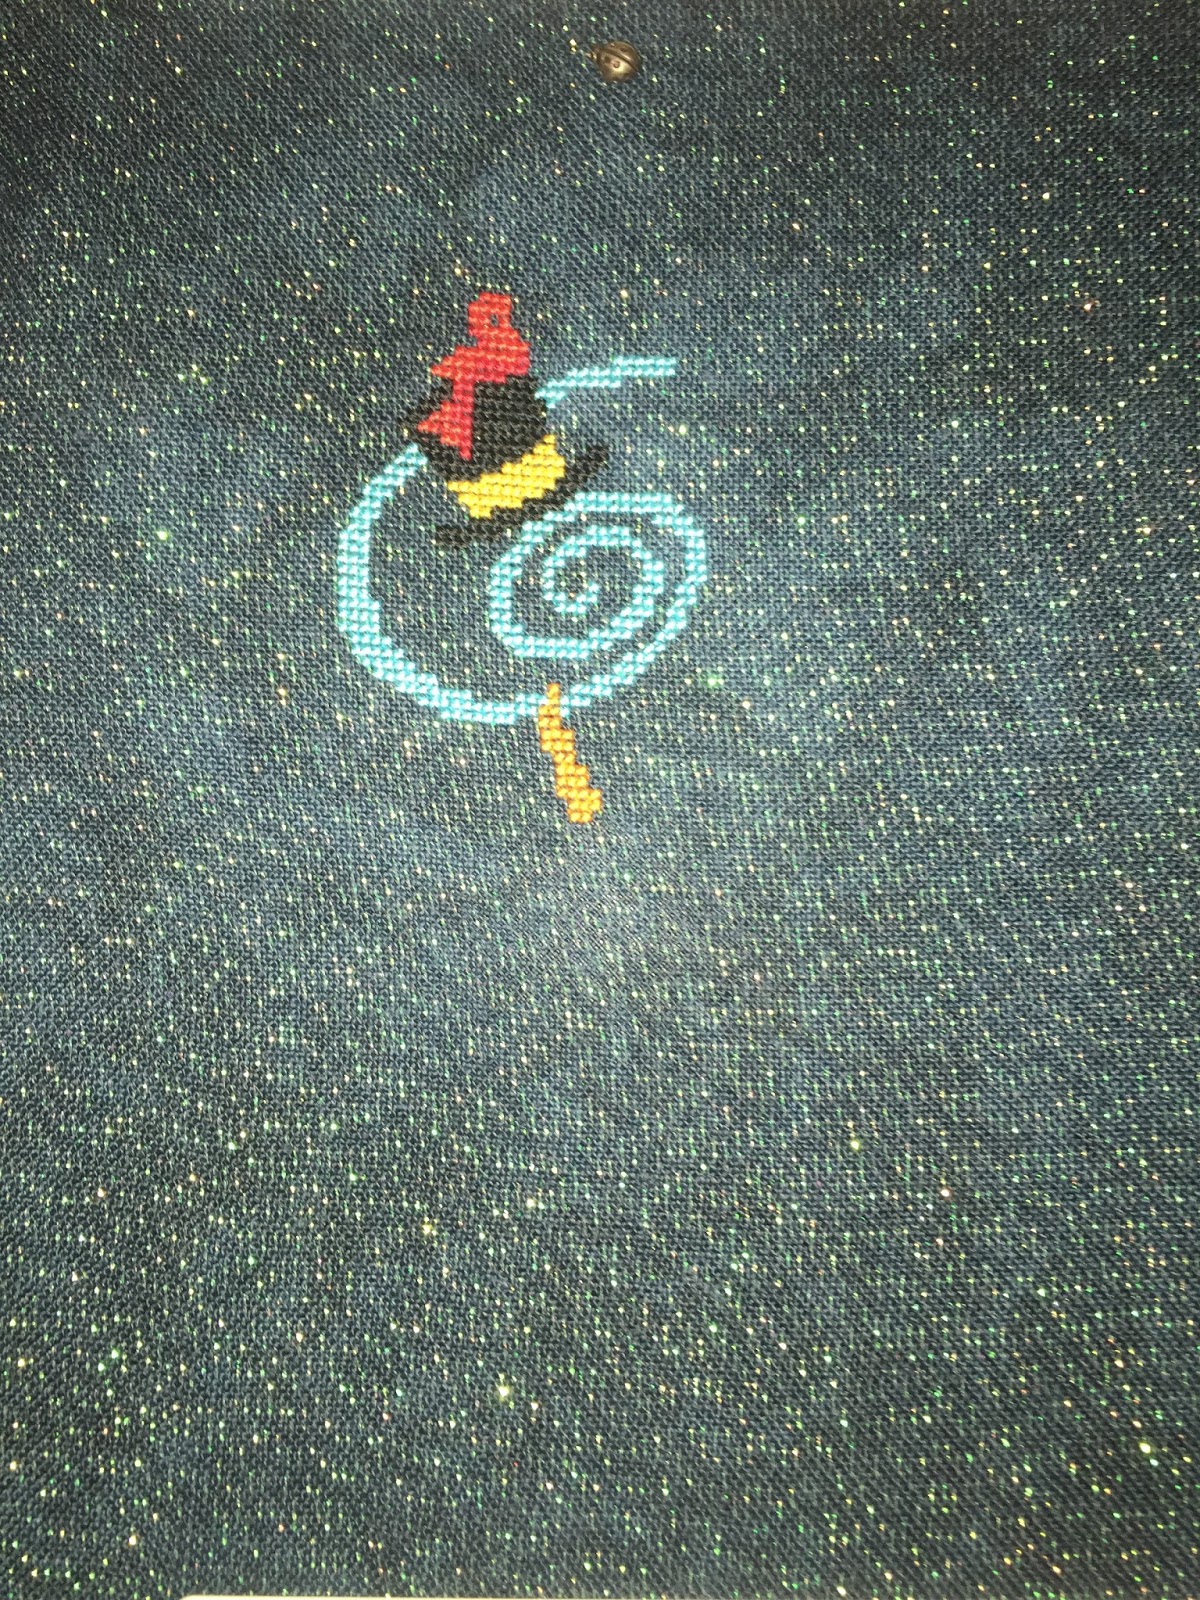
Below is what I've done the past two days:


I stitched about two hours each day.  Most of that time was spent dealing with metallics in one form or another, and boy, was it a pain!

Both the white (DMC B5200) and black (DMC 310) were combined with Kreinik blending filament.  It creates a nice sparkly effect and it isn't usually horrible to work with.  But for some reason, the black blending filament shreds and separates and refuses to cooperate.  I'm sure it's just a bad batch, but it's making me nuts.  For the time being, because I don't want to wait for a replacement spool, I'm just carefully searching for stitchable lengths and that's working so far.  I have two more medium-sized areas to stitch in black.

The gold is #4 Very Fine Braid and I'm using two strands.  Because it's a metallic, and because it comes on a little spool, it can be curly and springy and bouncy and generally uncooperative.  And that's just one strand.  Two strands each doing their own thing are quite frustrating to work with.  There are some tools and techniques to make it easier:

     -Use short lengths.  I like to use about a foot.
     -Use a thread conditioner.  I use Thread Heaven.  Some people like beeswax
     -Use a laying tool when dealing with multiple strands.
     -Consider alternating your metallic work with stitching with easier threads
     -Meditate.  Take deep breaths.  Go as slow as you want.


Saturday, January 28, 2017

2016's Christmas Angel

It's a Madonna, really.

But first, my progress on Thursday.  I almost finished the white head.  That's about one hour of work.  I would have liked to have done more, but that was all the time I had.  Unlike sleep, a little is better than none.  It's better than an antidepressant, anti-anxiety, and meditation together.

But sometimes the to-do piles get in the way.  (That's a to-do list, but in physical form.)  Seeing those around and not being dealt with causes anxiety.  So I have to balance.  I had hopes of stitching today, and I still might, but it's not looking likely.  So, hopefully, tomorrow.

Back to the Madonna.  I stitched three of these:  One for Nancy, my mother-in-law, one for Lynda, my best friend, one for me.  I also used to do one for my mom, before she passed away.

I also recently started a new type of stitching journal:  I take a picture of each day's progress.  This doesn't allow me to keep track of the hours, and I need to make sure I do that.  But it does allow me to see the image grow.  So, without further ado, the 2016 Christmas Angel Stitching Journal:


The pattern is Told In A Garden's 2002 Free Christmas pattern.  Did I mention it's free?  The above is the second iteration of the project.  I hadn't started the new journaling-by-picture method when I did the first one.  I did that one almost exactly as called for, only changing the skin tones into over-one, as is my wont.  But I felt like the beads on the clothing areas were too large.  They didn't seem to fit well with the clothing.  So, for #2, I substituted petite beads.  I wasn't 100% happy with that either:  I felt the pearl trim was too off-white.  Still, I liked it a lot and am considering entering it into the county fair later this year.

I like to take a picture of the back, too.  My backs aren't perfect, but they're not terribly messy, either:


Now she's a Frida Kahlo Madonna.

Next, the dreaded finishing:


I don't know why that's upside-down.  Anyway, I finished #s 1 and 2 at the same time.  That's the completed stitching with batting and backing fabric.


Cardboard for the back and acid-free foam core for the stitching, complete with centering marks.


Fronts and backs all laced.


Angel #2 completed.


Angel #1, for a little contrast.

Angel #3 was also finished, but not Finished, because I'm going to finish all my angels together when I complete them all.